
Short answer android studio gyroscope:
Android Studio is an integrated development environment used to create mobile applications. A gyroscope is a sensor that detects and measures rotation in electronic devices. In Android Studio, developers can use the gyroscope API to access data from the device’s gyroscope sensor for creating innovative features in their apps.
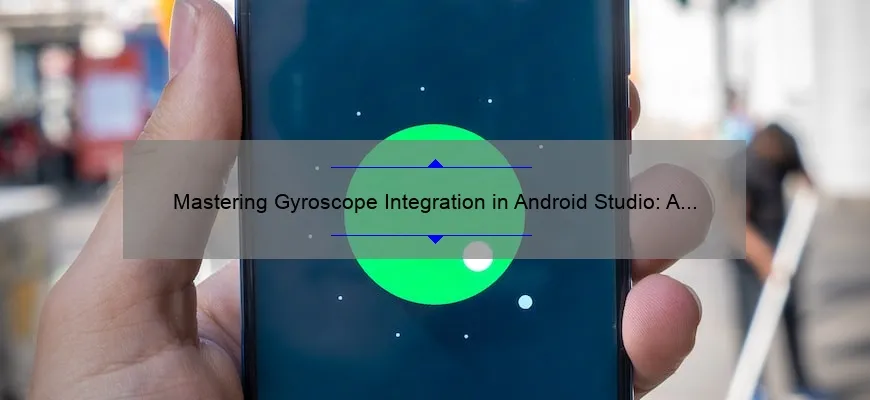
How to Use the Android Studio Gyroscope for Enhanced App Development
As technology advances, it’s becoming increasingly important to incorporate a wide range of sensors into the development of mobile apps. One such sensor that has gained popularity in recent years is the gyroscope. The gyroscope is a sensor that measures orientation and angular velocity, and incorporating this sensor into your app can enhance its functionality and user experience.
For Android developers, Android Studio offers an easy-to-use platform for implementing gyroscope sensing in their applications. Here’s how you can make use of the gyroscope in Android Studio to improve your app:
Step 1: Configure Permissions
Before getting into the code, you need to ensure that your app has permission to access the gyroscope on the user’s device. This can be achieved by adding the following line to your application manifest:
“`
“`
This grants your app permission to use gyroscopes on devices where they are available.
Step 2: Create an Instance of SensorManager
The first step towards utilizing the gyroscope in Android Studio involves creating an instance of SensorManager. This can be done using a single line of code:
“`
SensorManager mySensorManager = (SensorManager) getSystemService(Context.SENSOR_SERVICE);
“`
This creates an instance of SensorManager and assigns it a name (‘mySensorManager’) so you can reference it later in your code.
Step 3: Implement Gyroscope Event Listener
With an instance of Sensor Manager now created, we are able to register our app to receive updates from device sensors- like gyroscopes!
First, create an inner class within your main activity class called ‘MySensorEventListener.’ There are several override methods included such as ‘onAccuracyChanged’ but we just need one for this case – ‘onSensorChanged.’
This method will automatically trigger whenever there is any change detected by our registered listener; meaning whenever phone starts receiving data from its accelerometer or gyroscope sensors, it will be relayed to our app in this method!
“`
private class MySensorEventListener implements SensorEventListener {
public void onSensorChanged(SensorEvent event)
{
// Do something with the sensor data
}
}
“`
Step 4: Register Listener
After creating an instance of the sensor listener, you now need to register your app’s interest in receiving these updates by calling `mySensorManager.registerListener`.
Here is an example code snippet that registers the listener:
“`
mySensorManager.registerListener(new MySensorEventListener(),
mySensorManager.getDefaultSensor(Sensor.TYPE_GYROSCOPE),
SensorManager.SENSOR_DELAY_NORMAL);
“`
This code block is pretty self-explanatory – it creates an instance of our `MySensoreventListener`, then registers it for changes on the gyroscope using `getDefaultSensor`. The third parameter sets how often we want to receive updates, and NORMAL should suffice for most use cases.
Step 5: Implement Gyroscope Movement
Finally, with your app connected to the
Step by Step Guide on Implementing the Android Studio Gyroscope in your App
As the technology industry continues to evolve, smartphones and other mobile devices are now more equipped with cutting-edge features that enable users to enjoy an unforgettable user experience. One crucial feature that has become increasingly popular amongst developers is the gyroscope sensor.
The gyroscope sensor is a critical component in modern smartphone devices that help measure and control orientation or rotational motion in three dimensions. It detects angular velocity, which is an essential metric for determining device movement and position.
In this step-by-step guide, we will take a closer look at how you can integrate the Android Studio Gyroscope into your app.
Step 1: Create a new project
To get started, create a new project on the Android Studio platform. This process involves selecting File > New > New Project > Empty Activity.
Step 2: Add Gyroscope Sensor
After successfully creating your new project, head over to the “Gradle Scripts,” click on “build.gradle” file located under app module, then add the following dependency:
implementation ‘com.android.support:support-core-utils:28.0.0’
This code snippet integrates some necessary classes for our gyroscope implementation process to work seamlessly.
Step 3: Implement SensorEventListener
At this stage, we will implement the SensorEventListener Interface class into our codebase by adding it to our main activity java file:
public class MainActivity extends AppCompatActivity implements SensorEventListener
By implementing this interface class onto our codebase, we will be able to detect any changes in orientation using data sensed by the gyroscope sensor device as shown below:
@Override
public void onSensorChanged(SensorEvent event){
if(event.sensor.getType()==Sensor.TYPE_GYROSCOPE){
//Code block goes here
}
}
Step 4: Acquiring SensorManager Instance
In this step, we need to acquire an instance of Sensor Manager before instantiating Gyroscope sensor devices; thus, add this line of code right after initializing onCreate method;
SensorManager sensorManager;
sensorManager = (SensorManager) getSystemService(Context.SENSOR_SERVICE);
This code snipped primes our project to behold any changes made to gyroscope rotation.
Step 5: Register the Listener
To monitor and detect changes in orientation, we need to register our app instance as a listener for gyroscope sensors; therefore, add the following line of code within your onCreate method:
sensorManager.registerListener(this,sensorManager.getDefaultSensor(Sensor.TYPE_GYROSCOPE), SensorManager.SENSOR_DELAY_GAME );
The above line of code passes in three parameters;
1. A reference to an instance of our MainActivity
2. The type of sensor needed which is Gyroscope.
3. Delay functions that have been set into constants for distinct use-cases like SENSOR_DELAY_GAME suitable for gaming apps.
Congratulations! At this point, you have made significant steps towards implementing the Android Studio Gyroscope into your app.
In conclusion, integrating this feature offers unlimited possibilities to developers who are willing to explore innovative ways through which they can create solutions that amaze their users with immersive
Common FAQ about Using the Android Studio Gyroscope in Your Projects
As more people are embracing mobile technology, developers are increasingly using gyroscope sensors to enhance apps’ user experience. A gyro sensor measures the device’s rotation and orientation in three-dimensional space. It’s an essential component for developing gaming applications and other innovative designs.
However, not everyone knows everything about using the Android Studio gyroscope efficiently-in fact, it can seem daunting. Here are a few frequently asked questions about such sensors when working on Android Studio:
1. What is a Gyroscope Sensor?
A gyroscope sensor is an instrument that helps detect rapid rotational movement centered around three axes- pitch, yaw and roll. In smartphones, this sensor system includes three accelerometers (X,Y,Z). When you rotate your device, it measures the number of degrees per second relative to itself along each axis.
2. Why use Gyroscopes in Mobile App Development?
Gyroscopes help develop efficient gameplay by introducing motion controls while also facilitating environmental tracking systems like those used by Google Maps and GPS-based driving apps.
Letting users steer their on-screen characters through gesture commands or by tilting their smartphone adds immersion to games and simulators like never before.
3.What are Gyroscopes Used For in Virtual Reality?
In virtual reality applications, gyroscopes play an essential role as they collect data about changes in head position, translation speeds of head-mounted displays (HMDs), acceleration rates tied to the HMDs’ movement patterns.
4.How Can You Calibrate Your Device’s Gyroscope?
If your app requires high precision accelerometer readings or if the user prefers increased accuracy when working with VR devices or camera stabilization systems, consider creating a calibration process that ensures accurate readings during usage time by performing regular calibrations throughout its lifetime on various devices.
5.Does Every Mobile Device Have a Gyroscope Sensor Installed?
Most modern phones come equipped with both Accelerometerand Magnetometer sensors although some may not necessarily include Gyroscope facilities without which precise control would be near impossible.
6.Is it Possible to Implement Gyroscopes in iOS and Android?
Gyroscopic functionality is most commonly found on Android devices, but also integrated into an iPhone’s operating system. There are various software solutions to use accelerometer and gyroscope data for a range of applications.”
7.Are there Special Settings that Must Be Considered when Incorporating Gyroscope Sensors into an App’s Functionality?
When using gyroscopes during app development, be sure to check whether any additional settings/configurations will need to be enabled explicitly via your code or your phone’s default sensor configurations.
Overall, the android studio gyroscope plays a vital role in modern mobile app development with more developers implementing it daily, guaranteeing innovative experiences and improved gameplay.


